Samson Field Measuring Survival Guide
Introduction:
Accurate measurements are the foundation of any successful weight room project. When architectural blueprints aren’t available, manually measuring the space becomes essential. These measurements influence every aspect of the design—from equipment placement to flooring installation. Timely, precise information ensures smooth progress from start to finish.
This guide provides step-by-step instructions on gathering the necessary measurements and organizing the data for efficient use by the Samson team.
Tools You’ll Need:
Ensure you have the following before starting your measurement process:
- Notebook and Pen (preferably graph paper to allow for easier scale drawing)
- Straight Edge/Ruler for clean lines on your sketches
- Laser Measuring Unit for accurate wall length measurements
- 30’ Tape Measure for shorter, detailed measurements
- Camera or Smartphone to capture photos and videos of the room
- Clipboard to keep all notes and sketches together
Step-by-Step Process for Measuring the Room:
Step 1: Capture Visual References (Photos and Videos)
Before taking measurements, capture multiple photos and videos of the space from different angles, particularly from the main entrance. This will help in understanding the room’s layout and identifying any potential obstructions like beams, pipes, or HVAC systems. A wide-angle photo or video walkthrough from the main entrance can serve as a useful reference when revisiting details later.
Tips for Photos and Videos:
- Take at least one panoramic photo of the entire room.
- Make sure to include ceiling obstructions, like lights or HVAC units.
- Walk around the room while filming, focusing on doors, windows, and any fixed obstructions.
Step 2: Draw a Rough Sketch of the Room
Start with a basic, freehand sketch of the room layout. Begin at the main entrance, noting the dimensions and locations of:
- Walls
- Doors and windows
- Columns or fixed furniture (if any)
Use the following checklist as a guide:
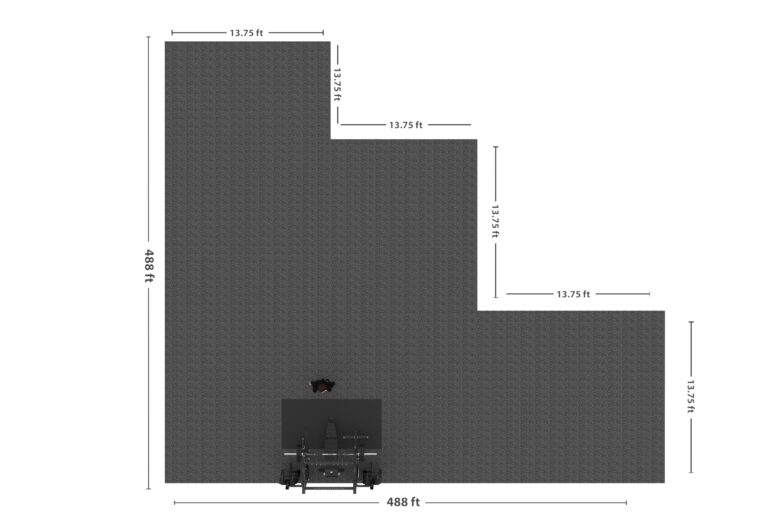
- Walls: Indicate the overall shape of the room, whether rectangular, L-shaped, or other.
- Doors: Indicate swing direction (inward or outward), placement, and width.
- Windows: Measure height and width; note if any special features may affect equipment placement.
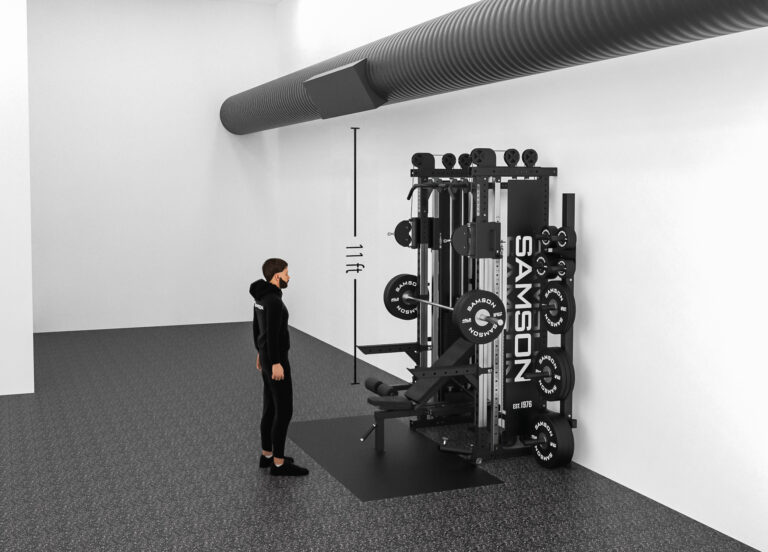
- Obstructions: Mark any pipes, electrical outlets, low-hanging beams, or ventilation ducts that may affect ceiling height or floor space.
Checklist for Rough Sketch:
- Main walls and their lengths
- Door and window locations (including swing directions for doors)
- Fixed obstructions (HVAC units, plumbing, beams)

Step 3: Measure Wall Lengths
Using the laser measuring tool, measure the length and width of the room. Start from one corner and work your way around the room in a clockwise or counterclockwise direction to avoid missing sections.
Tips for Measuring Wall Lengths:
- Use a laser measure for walls and large spans. Cross-check with a tape measure when measuring shorter lengths (e.g., between doors).
- Record the length of each wall, and mark down any odd angles or areas where the wall deviates (for example, alcoves or recesses).
- Make sure the floor and ceiling measurements match—if not, record the difference, as this may indicate sloping ceilings or irregularities.

Step 4: Measure Ceiling Height and Identify Obstructions
Measure the room’s ceiling height using the laser measure or tape. Pay special attention to any obstructions, such as lighting fixtures, HVAC ducts, plumbing, or beams that reduce the usable height in certain areas.
Obstructions to Look For:
- Ceiling fans, overhead beams
- HVAC ducts and lighting systems
- Sprinkler systems or fire alarms
- Sloped ceilings
Step 5: Measure Door Widths and Windows
Doors and windows can affect both equipment placement and flooring plans. Measure:
- The width and height of doors and windows.
- Door swing direction (inward or outward).
- Note any special access requirements, such as wheelchair access or fire exits.
Checklist for Doors and Windows:
- Door width, height, and swing direction
- Window height and width
- Special requirements (e.g., fire exits, ADA compliance)
Step 6: Identify the Room’s Location and Access
It’s crucial to understand the room’s location within the building and how easy it will be to transport equipment to the space. Make note of:
- The floor the room is on (e.g., ground floor, basement, upper level).
- The entrance route, including staircases, elevators, and tight corners.
- Any loading docks or freight elevators available for large deliveries.
Final Documentation:
Once you’ve gathered all measurements, compile the following for submission:
- Final Sketch: Clearly labeled with wall lengths, ceiling height, doors, windows, and obstructions.
- Measurement Sheet: A list of each measurement, including door/window sizes and ceiling heights.
- Photos and Videos: Organized by perspective (e.g., entrance view, ceiling obstructions, etc.).
Submission Notes:
- Double-check all measurements for accuracy.
- Include a description of any noteworthy obstructions.
- Provide any access issues that may affect equipment delivery.
Thank you for providing us with these essential measurements. Your thorough and accurate submission will help ensure your Samson weight room project runs smoothly and meets your needs perfectly.
